What is Z Banding in 3D Printing?
Z banding is a common issue encountered by 3D printing enthusiasts and is particularly noticeable on the Tevo Tarantula. It manifests as horizontal lines or ridges that appear on the printed object’s surface, running parallel to the Z-axis (the vertical axis). This defect disrupts the smooth, uniform appearance of the print, diminishing its overall quality and aesthetic appeal. These bands represent inconsistencies in the layer height during the printing process, leading to an uneven surface and a less-than-perfect final product. Understanding what causes Z banding is the first step to troubleshooting and resolving this issue, ensuring your Tevo Tarantula delivers the high-quality prints you desire. Addressing Z banding not only improves the visual outcome but also enhances the structural integrity of the printed object, making it more reliable for its intended use.
Common Causes of Z Banding
Z banding on the Tevo Tarantula, like any 3D printer, stems from a variety of factors, often interacting with each other to create the final visual defect. Identifying these underlying causes is crucial for a targeted approach to troubleshooting. This section delves into the most prevalent sources of Z banding, providing a comprehensive understanding to better diagnose and fix the problem. From mechanical issues to software settings, understanding the root causes will help you eliminate Z banding and achieve the highest-quality prints.
Inconsistent Layer Height
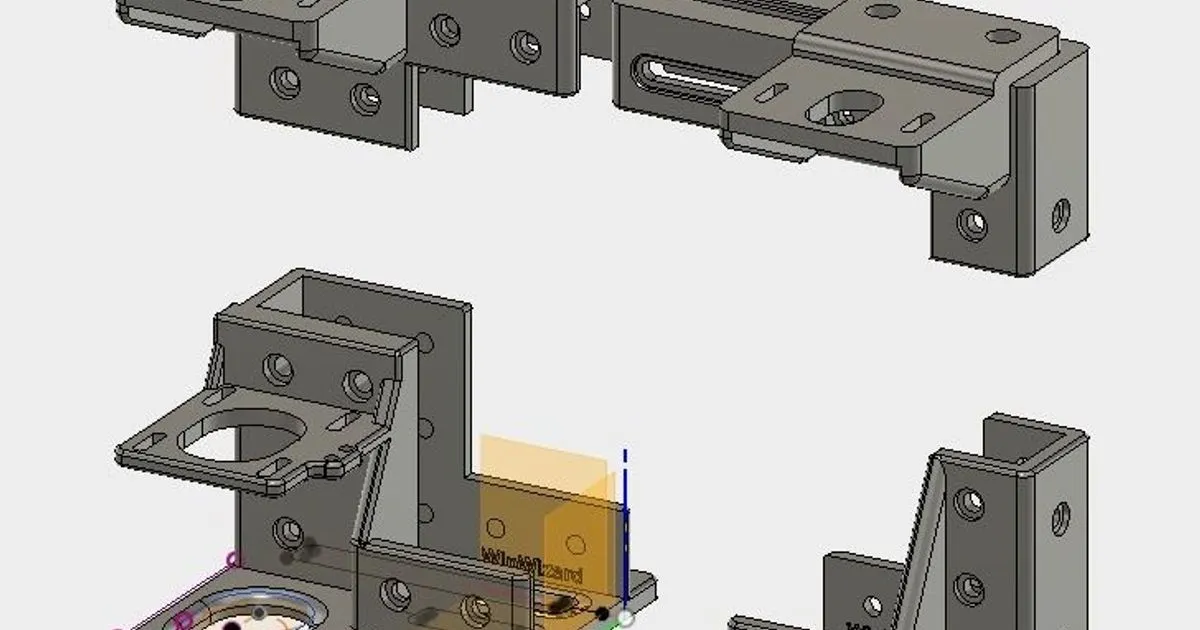
Inconsistent layer height is one of the most common causes. This occurs when the printer fails to deposit each layer at the exact intended thickness. This can be due to various mechanical and software-related issues, including problems with the Z-axis movement. This creates the visible bands that are characteristic of Z banding.
Loose Belts and Pulleys
Loose belts and pulleys are another significant factor. The belts control the movement of the X and Y axes, and any slack can cause inaccurate positioning, leading to inconsistencies in layer deposition. Similarly, loose pulleys can introduce play into the system, disrupting the precise movements necessary for smooth printing. Regularly checking and tightening these components is crucial for preventing Z banding. (Image: tevo-tarantula-loose-belts)
Worn Z-Axis Lead Screw
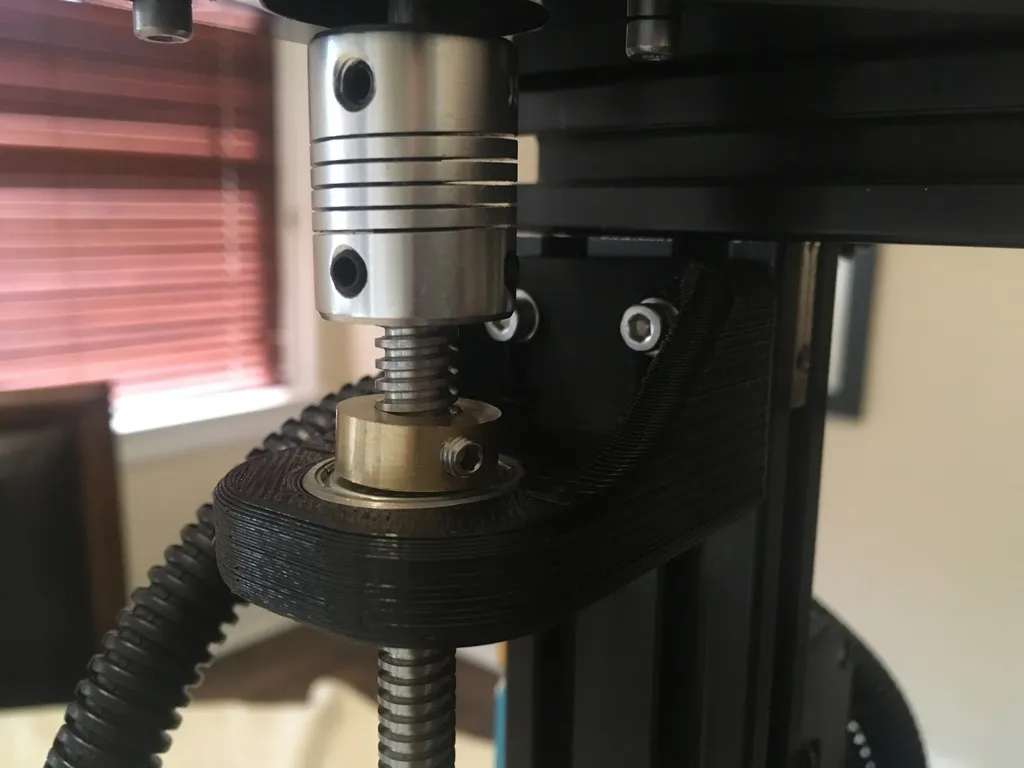
The Z-axis lead screw is responsible for the vertical movement of the print bed or the print head, depending on your printer’s design. Over time, the lead screw can wear down, develop imperfections, or accumulate debris. This wear can cause the Z-axis to move inconsistently, leading to variations in layer height and ultimately resulting in Z banding. Regular inspection and maintenance, including lubrication or replacement if necessary, can mitigate this issue. (Image: worn-z-axis-lead-screw)
Stepper Motor Issues
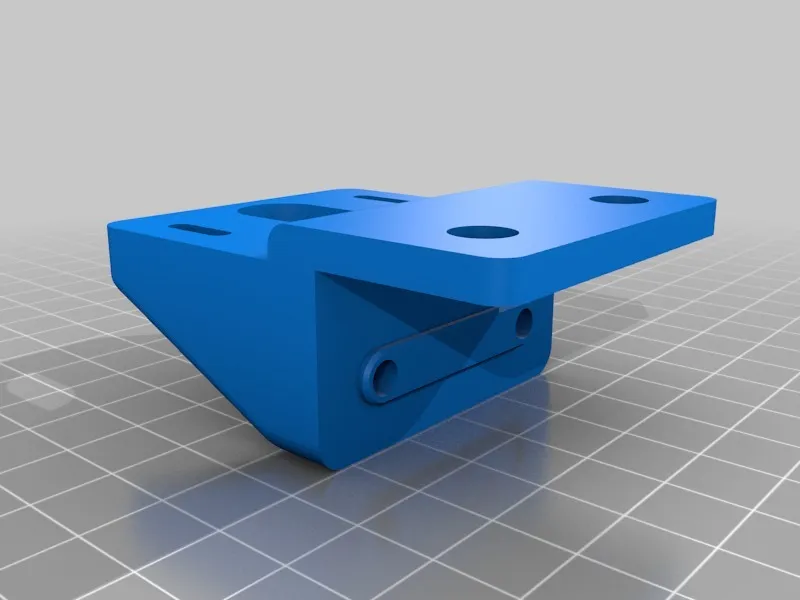
Stepper motors are the workhorses of the 3D printing process, controlling the precise movements of each axis. Issues with the stepper motors, such as incorrect voltage settings, overheating, or faulty drivers, can lead to erratic movements. This, in turn, results in inconsistent layer heights and the appearance of Z banding. Ensuring proper motor calibration and avoiding overheating are vital in preventing this cause.
Vibration and Resonance
Vibration and resonance can also contribute to Z banding. Any vibrations in the printer’s frame, whether from the printer itself or the surface it’s placed on, can disrupt the print head’s or bed’s movements, introducing inconsistencies in layer deposition. This is especially noticeable during high-speed printing or with printers that lack sufficient structural rigidity. Ensuring a stable printing environment and reinforcing the printer frame can help mitigate this issue. (Image: reducing-3d-printer-vibration)
Solutions for Z Banding
Addressing Z banding on your Tevo Tarantula requires a methodical approach. Here are a few steps to help correct the issue and get higher quality prints.
Tightening Belts and Pulleys
Start by checking and tightening all belts and pulleys. Loose belts can cause significant print quality issues, including Z banding. Ensure the belts are taut but not overly tight, as this can cause other problems. Check the set screws on the pulleys to ensure they are securely fastened to the motor shafts.
Replacing or Lubricating the Z-Axis Lead Screw
Inspect the Z-axis lead screw for wear, debris, and lubrication. Clean the lead screw and apply a suitable lubricant, such as lithium grease. If the lead screw is worn or damaged, consider replacing it. A smooth, well-lubricated lead screw is crucial for consistent Z-axis movement. (Image: worn-z-axis-lead-screw)
Adjusting Stepper Motor Drivers
Improper stepper motor driver settings can cause problems. Ensure that your stepper motor drivers are correctly configured, especially the voltage and current settings. Refer to your printer’s documentation and/or the manufacturer’s recommendations for the proper settings. Incorrect settings can lead to missed steps and inconsistent movements, contributing to Z banding.
Reducing Vibration and Resonance
Minimize vibrations. Place your printer on a stable surface and consider adding vibration dampers, such as rubber feet or a vibration-dampening mat. You can also reinforce the printer’s frame by adding braces or other structural supports. Reducing vibrations will contribute to smoother prints. (Image: reducing-3d-printer-vibration)
Calibration and Tuning
Proper calibration is essential. Ensure your printer is calibrated, including the bed level and the steps/mm settings for each axis. Use a level to verify that the print bed is perfectly level. Accurate calibration ensures that the printer moves as intended, providing smoother layers.
Checking and Calibrating the Extruder
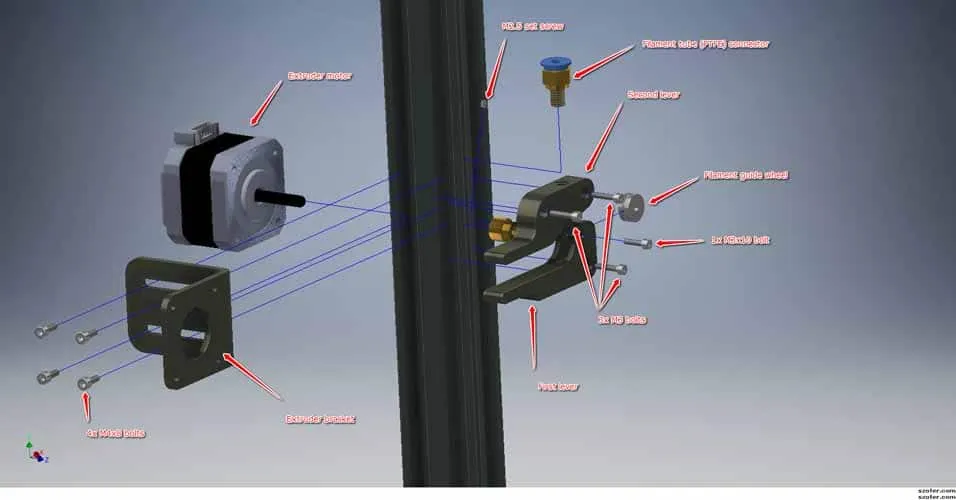
Ensure that your extruder is correctly calibrated and consistently extruding filament. A poorly calibrated extruder can lead to variations in the amount of filament deposited, which can manifest as Z banding. Calibrate your extruder by measuring the amount of filament extruded for a specific command and adjust the steps/mm setting accordingly. (Image: tevo-tarantula-extruder-calibration)
Optimizing Print Speed and Acceleration
Experiment with print speed and acceleration settings. Printing too fast can exacerbate vibrations and mechanical issues, leading to Z banding. Try reducing your print speed and acceleration settings to see if it improves the print quality. Find the optimal balance between speed and quality for your Tevo Tarantula.
Software and Firmware Updates
Make sure your firmware and slicing software are up-to-date. Software updates often include bug fixes and performance improvements that can help reduce print defects like Z banding. Check for updates for both your printer’s firmware and your slicing software, such as Cura or PrusaSlicer.
Preventing Z Banding in the Future
Preventing Z banding on your Tevo Tarantula requires ongoing maintenance and careful operation. Regularly check your printer for any potential issues. By following these preventative measures, you can keep your 3D prints smooth and high-quality.
Regular Maintenance Schedule Routine maintenance is essential. Perform regular checks of the mechanical components, including belts, pulleys, and the Z-axis lead screw. Lubricate moving parts as needed and replace worn-out components promptly. Regular maintenance will catch potential issues early. Store filaments properly to prevent moisture absorption, which can cause extrusion problems and, potentially, Z banding. Use a filament dryer if necessary.
By addressing the underlying causes of Z banding and implementing these solutions, you can significantly improve the print quality of your Tevo Tarantula. Remember to be patient and persistent in your troubleshooting efforts, and you’ll be rewarded with beautiful, high-quality 3D prints. (Image: tevo-tarantula-z-banding-overview)
