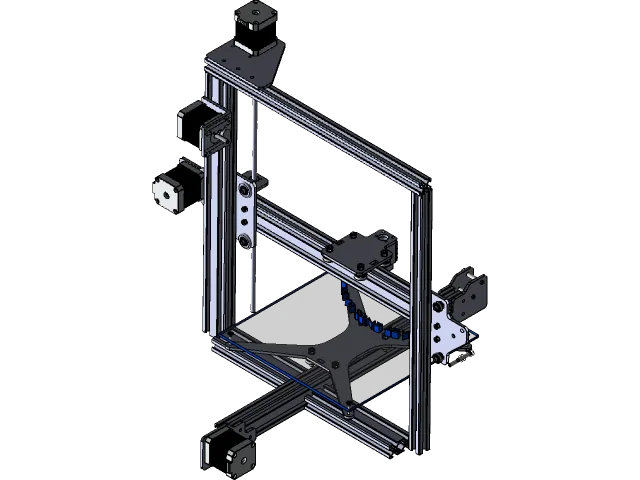
Leveling the Bed Accurately
One of the most critical steps in achieving high-quality 3D prints with your Tevo Tarantula is ensuring a properly leveled bed. A level bed provides a consistent surface for the first layer to adhere to, which is crucial for a successful print. Without a level bed, the nozzle may be too close or too far from the print surface, leading to problems like poor adhesion, warping, or an uneven first layer. Spending time on bed leveling is one of the most impactful improvements you can make to your prints. It directly impacts the quality and consistency of your prints, making it a fundamental aspect of 3D printing with the Tevo Tarantula.
Importance of Bed Leveling
Bed leveling ensures that the distance between the nozzle and the print bed remains consistent across the entire surface. This consistency is essential for the initial layer, which serves as the foundation for the rest of the print. A properly leveled bed provides a smooth, even surface for the filament to adhere to, minimizing the chances of warping, lifting, and poor layer adhesion. Inconsistent leveling can cause the nozzle to be too close to the bed in some areas and too far in others. This can lead to the filament not sticking, or the nozzle scraping the bed, potentially damaging both the print and the printer. Proper bed leveling significantly improves print success rates.
Tools and Techniques for Leveling
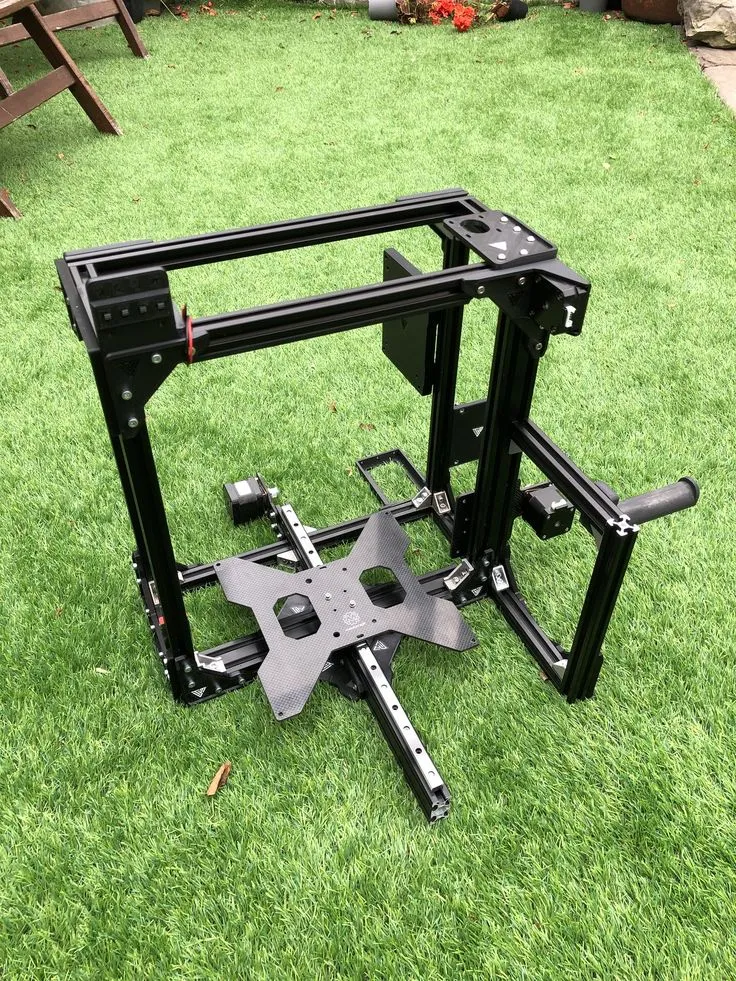
The Tevo Tarantula typically uses a manual bed leveling system, which involves adjusting the bed’s height using screws located at each corner. Begin by preheating your bed and nozzle to their printing temperatures. This step allows the bed to expand, and the nozzle to heat up, and helps to get a more accurate level. Use a piece of paper between the nozzle and the bed, and adjust the bed screws until the nozzle lightly grips the paper as you move it. Repeat this process at each corner of the bed until the nozzle height is consistent. A feeler gauge can also be used for more precise leveling, providing a specific distance between the nozzle and the bed. Auto-leveling sensors are a great upgrade to consider, as they automatically measure the bed’s surface and adjust for any imperfections during printing.
Adjusting Z-Offset for First Layer Adhesion
After leveling, the Z-offset plays a vital role in the first layer’s success. The Z-offset determines the distance between the nozzle and the bed at the beginning of the print. If the Z-offset is too high, the filament won’t stick to the bed; if it’s too low, the nozzle will scrape the bed, potentially causing clogs or damage. Fine-tune the Z-offset during the initial print, typically by adjusting the setting in your printer’s control panel or in your slicer software. Observe the first layer as it’s printed; it should be slightly flattened, with no gaps between the lines. Small adjustments to the Z-offset can significantly improve your print results, leading to better adhesion and a smoother first layer.
Upgrading the Nozzle
Upgrading the nozzle on your Tevo Tarantula is another effective way to improve print quality and expand your material options. The nozzle is responsible for melting and extruding the filament, so its quality and design directly impact the final print. A better nozzle can improve print resolution, reduce stringing, and allow you to print with a wider range of filaments, including more abrasive materials. Consider nozzle upgrades to make improvements to your Tevo Tarantula and provide an overall better 3D printing experience.
Benefits of Upgrading the Nozzle

Upgrading the nozzle offers several benefits, including improved print quality, increased durability, and the ability to use different materials. A high-quality nozzle provides more consistent extrusion, resulting in smoother surfaces and finer details. Upgraded nozzles are often made from hardened steel or other wear-resistant materials, making them suitable for printing with abrasive filaments like carbon fiber-filled materials. Different nozzle sizes allow you to experiment with various print resolutions and print speeds. A smaller nozzle will produce finer details, while a larger nozzle allows for faster printing and increased strength.
Choosing the Right Nozzle Material and Size
Selecting the right nozzle material and size depends on your specific printing needs. Brass nozzles are a good general-purpose option, but they wear out quickly when printing abrasive filaments. Hardened steel nozzles are more durable and ideal for abrasive materials. Consider nozzles made from stainless steel or other specialty alloys for improved thermal conductivity. The nozzle size affects print resolution and print speed. A 0.4mm nozzle is a common choice, offering a good balance between detail and speed. For finer details, use a 0.2mm or 0.3mm nozzle, but this will increase print times. For faster printing, use a 0.6mm or 0.8mm nozzle, but this will result in coarser details.
Installing and Calibrating the New Nozzle
Installing a new nozzle is a straightforward process. First, preheat the hot end to the appropriate temperature for your filament type. Then, carefully unscrew the old nozzle, using the appropriate tools to avoid stripping the threads. Screw in the new nozzle, making sure it’s tightened securely to prevent leaks. After installing the nozzle, recalibrate the Z-offset to ensure the nozzle is the correct distance from the bed. Running a test print is essential to verify the settings and nozzle performance. Monitor the first layer and make any necessary adjustments to the Z-offset or print settings. Ensure that the new nozzle is properly calibrated to provide a proper print.
Improving Filament Management
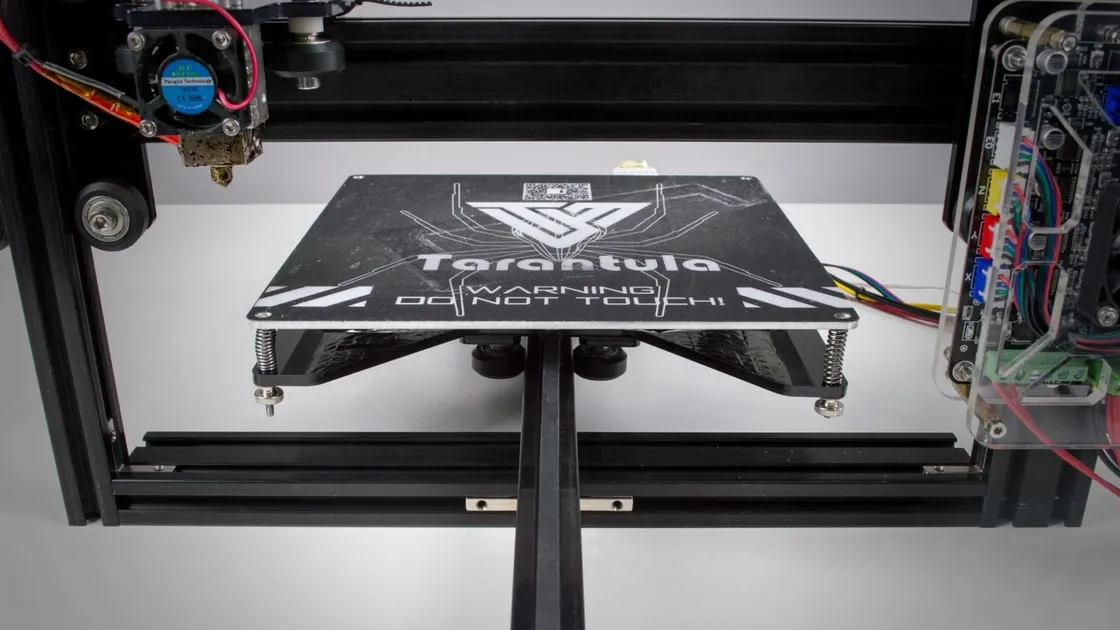
Proper filament management is often overlooked, but it plays a crucial role in print quality and reliability. Filament can be affected by moisture, dust, and other environmental factors, which can lead to printing problems. Improved filament management ensures the filament is in optimal condition, leading to smoother prints and fewer issues, such as nozzle clogs, poor adhesion, and inconsistent extrusion. Taking the steps to improve your filament management can prevent issues and improve your printing experience. This will also save you time and money due to less failed prints.
Importance of Proper Filament Storage
Filament, especially materials like PLA, PETG, and nylon, absorbs moisture from the air, which can degrade print quality. Moisture causes steam bubbles in the extruded filament, leading to inconsistent extrusion, surface imperfections, and weak layer adhesion. Storing filament properly helps to protect it from these issues. Always store filament in a cool, dry place, away from direct sunlight. Consider using airtight containers with desiccant packs to absorb moisture. Keep filaments in a dry environment to prevent moisture from entering the filament. Consider using a dedicated filament storage box to protect your filaments from humidity and dust.
Using a Filament Dryer
A filament dryer is an excellent tool for removing moisture from your filament before printing. These devices heat the filament to a temperature that evaporates the absorbed moisture. Using a filament dryer is particularly helpful for filaments prone to moisture absorption, such as nylon and PETG, and for use in humid environments. Before printing, dry the filament in the dryer for a few hours, following the dryer manufacturer’s instructions. Drying the filament improves print quality, reduces issues like stringing and bubbling, and increases the lifespan of your filament. A filament dryer is a great upgrade to have on your Tevo Tarantula.
Upgrading the Extruder
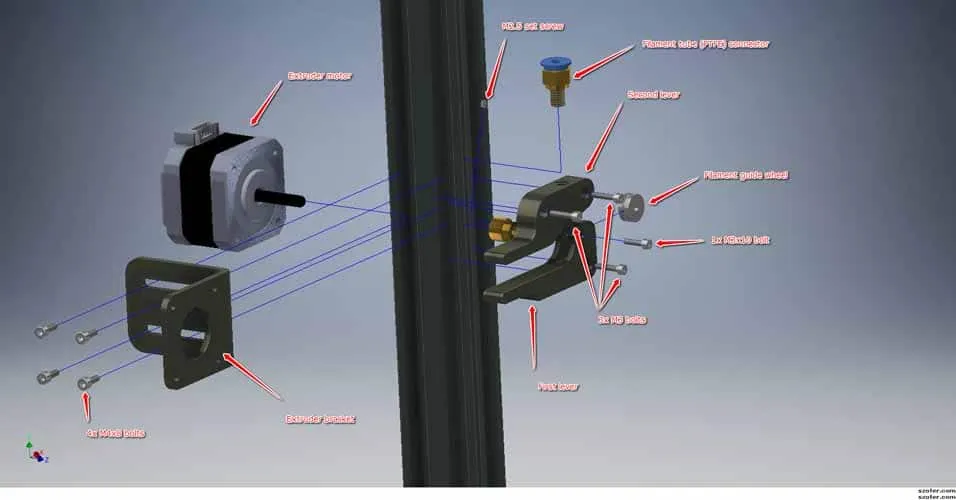
The extruder is responsible for feeding the filament into the hot end, and it directly impacts the consistency and reliability of your prints. Upgrading the extruder can significantly improve print quality, reduce filament jams, and allow you to print with a wider range of materials. The stock extruder on the Tevo Tarantula is functional, but an upgraded extruder can provide more precise control over filament feeding. Extruders come in many different styles and materials, so research which is best for your specific setup.
Why Upgrade the Extruder
The stock extruder on the Tevo Tarantula may struggle with some filaments or experience inconsistent feeding, leading to print quality issues. An upgraded extruder offers several advantages, including improved grip on the filament, more precise control over extrusion, and the ability to handle a wider range of materials. Upgraded extruders often feature stronger gears, better filament guides, and more reliable mechanisms. These improvements reduce the risk of filament grinding, slipping, and jams. Consider upgrading your extruder to provide a more stable and consistent filament feed.
Types of Extruders
There are various types of extruders available for the Tevo Tarantula. Direct drive extruders mount directly to the hot end, providing more precise control over filament feed. These extruders are often favored for flexible filaments. Bowden extruders separate the extruder motor from the hot end, allowing for a lighter print head. This design can increase print speeds and reduce vibrations. Dual-gear extruders provide a more secure grip on the filament, reducing the chance of slipping. Look for extruders made from high-quality materials, such as aluminum or steel, for durability and reliability.
Installing and Calibrating the Extruder
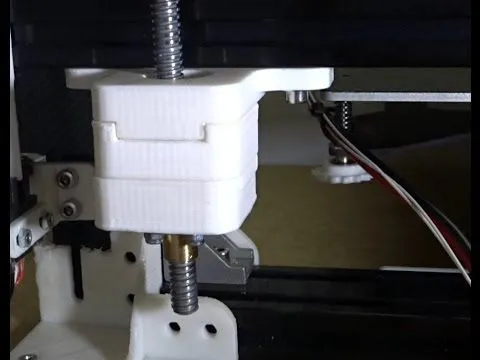
Installing an upgraded extruder usually involves removing the existing extruder, mounting the new one, and connecting the motor wires. Follow the manufacturer’s instructions for your specific extruder model. After installing the extruder, it’s essential to calibrate it to ensure accurate extrusion. Calibrate the E-steps, which determine the amount of filament the extruder feeds per unit of movement. You can find calibration instructions online. Run a test print and monitor the filament feed rate. Fine-tune the E-steps setting until the extrusion is accurate and consistent. A properly calibrated extruder is essential for achieving consistent layer adhesion and accurate dimensions. Take the time to calibrate your new extruder to see the best results.
Optimizing Slicer Settings
Slicer settings play a critical role in print quality, alongside hardware upgrades. The slicer software converts a 3D model into instructions for your printer. Fine-tuning these settings is essential for optimizing print quality and achieving the desired results. Experimenting with different settings, such as print speed, temperature, and retraction, can significantly improve your prints and fix issues. Different slicer programs offer a range of settings, so it’s important to find the right settings for your setup.
Adjusting Print Speed and Temperature
Print speed and temperature are two of the most important slicer settings. Print speed determines how fast the printer moves while printing, while temperature affects the melting and extrusion of the filament. Generally, slower print speeds result in higher quality prints, but also increase print times. Adjust the print speed according to the complexity of your model and the desired print quality. Temperature settings depend on the filament type, but it’s best to start with the recommended temperature range from the filament manufacturer. If you see under-extrusion or poor layer adhesion, increase the nozzle temperature. If you notice stringing or oozing, lower the temperature. Fine-tuning the speed and temperature is essential for achieving optimal print results.
Fine-tuning Retraction Settings
Retraction settings control how much the filament retracts when the nozzle moves between different parts of the print. Proper retraction settings are essential for preventing stringing, which occurs when filament oozes from the nozzle during these movements. Adjust the retraction distance and retraction speed based on the filament type and your printer’s setup. Start with the recommended settings for your filament and gradually adjust them to minimize stringing. If you see excessive stringing, increase the retraction distance or speed. If you see under-extrusion or gaps in the print, reduce the retraction distance. Correctly set retraction settings will help make your prints more precise.
Importance of Slicer Profiles
Creating and using slicer profiles is key to consistent print quality. Slicer profiles save your customized settings for different filaments and print jobs, which saves time and effort. Create profiles for each filament type and commonly used print settings, and save the settings to provide a shortcut. This simplifies the printing process and ensures you’re using the optimal settings for the material and print. Experiment with different settings and save your results to profiles for future use. You can also find pre-configured profiles online for the Tevo Tarantula. Start with these and adjust them to your needs.
Enhancing Cooling
Effective cooling is crucial for high-quality 3D prints. Proper cooling prevents warping, improves overhangs, and enhances the overall surface finish. Enhancing the cooling system on your Tevo Tarantula can significantly improve your print quality and expand the range of printable materials. This is also a good way to enhance the cooling on your printer.
Benefits of Improved Cooling
Improved cooling offers several advantages, including reduced warping, improved overhangs, and a better surface finish. Effective cooling quickly solidifies the extruded filament, preventing it from sagging or deforming during the printing process. This results in more accurate dimensions and smoother surfaces. Improved cooling is particularly important when printing overhangs and bridges. It helps the filament solidify quickly, allowing the printer to create complex geometries. A more efficient cooling system can also reduce the likelihood of warping, which occurs when the printed material shrinks unevenly as it cools. Investing in your cooling system helps you in the long run.
Upgrading Fan and Duct System
The Tevo Tarantula typically uses a single fan to cool the printed parts. Upgrading the fan and duct system can significantly improve cooling performance. Consider using a more powerful fan, which moves more air, or a dual-fan setup for even more effective cooling. Upgrading to a better fan will also help the printer to print more effectively. Also, the original duct system may not direct the airflow effectively. Replace the existing duct with a better-designed one that directs the air precisely onto the printed part. Ensure that the airflow is directed towards the part and not away. There are many designs available online to improve the airflow.
Troubleshooting Common Printing Issues
Even with all the upgrades and improvements, 3D printing can still present challenges. Troubleshooting common printing issues is a critical skill for any 3D printing enthusiast. By understanding the common problems and how to solve them, you can minimize print failures and ensure you get the best results.
Identifying Common Problems
Common 3D printing issues include poor bed adhesion, warping, stringing, under-extrusion, and layer shifting. Poor bed adhesion results in the print detaching from the bed during printing, while warping causes the print to curl up at the edges. Stringing is when thin strands of filament appear between parts of the print, and under-extrusion is when the filament isn’t extruded consistently, resulting in gaps and weak layers. Layer shifting occurs when the layers of the print are misaligned, which can ruin a print. Learn to identify the common issues to help you troubleshoot and fix them.
Troubleshooting Steps
When encountering a printing issue, start by visually inspecting the print and identifying the problem. Then, consult online resources to identify the likely cause. For poor bed adhesion, make sure the bed is level and clean. Adjust the Z-offset or use an adhesive like glue stick or painter’s tape. For warping, use a heated bed, enclose the printer, and reduce the bed and nozzle temperatures. For stringing, adjust the retraction settings and temperature. For under-extrusion, check the nozzle for clogs, adjust the E-steps, and increase the nozzle temperature. For layer shifting, make sure the belts are tight, and the motor drivers are correctly configured. Keep a log of the issues and their solutions so you can solve similar issues in the future.
