Understanding Tevo Tarantula Stock Firmware
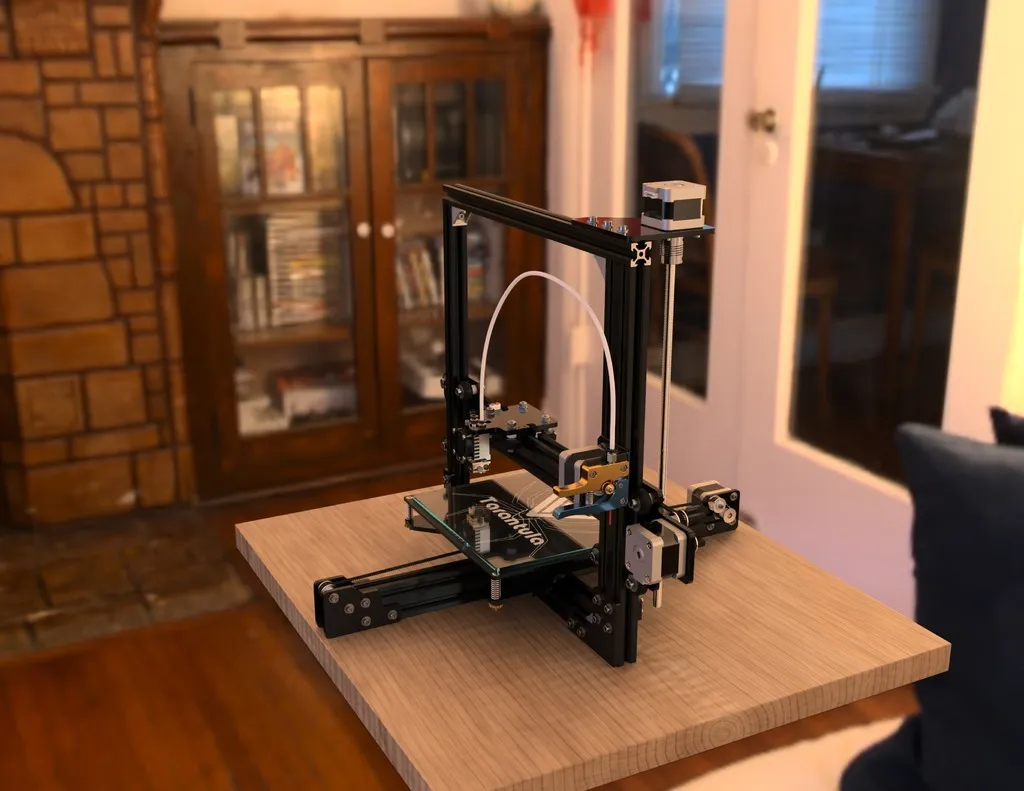
The Tevo Tarantula is a popular 3D printer, known for its affordability and ease of use. The stock firmware is the original software that comes pre-installed on the printer, controlling all its functions. This guide will walk you through the process of updating or reinstalling the stock firmware on your Tevo Tarantula, ensuring optimal performance and addressing potential issues. Understanding your printer’s firmware is crucial for maintaining its functionality and getting the best possible prints. Keeping your firmware up-to-date can also provide access to new features and improvements from the manufacturer. This guide is designed to help both beginners and experienced users navigate the firmware update process efficiently and safely.
What is Stock Firmware
Stock firmware is the original software designed and installed by the manufacturer (Tevo, in this case) for the Tevo Tarantula 3D printer. It dictates how the printer operates, including temperature control, movement of the print head and bed, and interaction with the user interface. The stock firmware is designed to provide a stable and reliable printing experience. It’s thoroughly tested by the manufacturer to ensure compatibility with the printer’s hardware components and intended operational parameters. If you are new to 3D printing, it is recommended to start with the stock firmware to become familiar with the basic operation of the printer before experimenting with custom firmware.
Benefits of Using Stock Firmware

Using the stock firmware offers several advantages. Firstly, it ensures compatibility with your printer’s hardware, eliminating potential issues that might arise with unofficial firmware. Stock firmware is generally stable and well-tested, reducing the risk of unexpected printer behavior or malfunctions. It provides a straightforward user experience, making it easier for beginners to learn and use the printer. Furthermore, if you encounter any issues, the manufacturer’s support channels are readily available to assist with problems related to the stock firmware. Another benefit of using the stock firmware is the warranty coverage. Modifying the firmware can void the warranty.
Risks of Modifying Firmware
While custom firmware can unlock advanced features, it also carries risks. The primary risk is the potential for bricking your printer if the firmware is not compatible or installed incorrectly. Custom firmware may introduce instability, leading to unpredictable printing behavior, print quality issues, or even hardware damage. Moreover, using non-stock firmware can void your printer’s warranty, leaving you responsible for any repair costs. Ensure you understand the risks associated with the modifications before proceeding. Before flashing any custom firmware, carefully research its reliability and compatibility with your specific Tevo Tarantula model. If you are unsure about the process, it’s best to stick with the stock firmware to avoid any unwanted consequences.
Preparing for the Tevo Tarantula Firmware Update
Before beginning the firmware update process, it’s essential to prepare your workspace and gather all necessary tools and materials. This preparation will help you avoid interruptions and ensure a smooth, successful update. Make sure you have a stable internet connection to download the required firmware files. Ensure your printer is placed on a stable, uncluttered surface with easy access to its ports and connectors. Proper preparation will save time and minimize potential errors during the process. A well-prepared workspace will enhance your focus and reduce the chances of making a mistake. Take your time, read all instructions carefully, and ensure you have everything ready before you start.
Tools and Materials Needed

To update your Tevo Tarantula’s firmware, you will need a few essential items. You’ll need a computer with a USB port, a USB cable compatible with your printer (usually a Mini-USB), and access to the internet. The Arduino IDE (Integrated Development Environment) is often used for flashing firmware, so make sure to download and install it from the official Arduino website. You will also need the appropriate firmware file for your Tevo Tarantula model. This file can typically be found on Tevo’s official website or on reputable 3D printing community forums. Lastly, a screwdriver set may be useful for disassembling or reassembling parts of the printer if necessary. Keep these tools readily available for the best experience.
Downloading the Correct Firmware
Downloading the correct firmware is crucial for a successful update. Visit the official Tevo support website or a trusted source to find the stock firmware for your specific Tevo Tarantula model. Double-check that the firmware version matches your printer’s hardware version. Firmware files are often provided in the form of a .hex file or a pre-compiled .bin file. If you cannot find the official firmware, search reputable 3D printing forums or communities, where users often share firmware files. Ensure the source is trustworthy to avoid downloading corrupted or malicious files. Before proceeding, verify the downloaded file’s integrity by comparing its checksum with the one provided by the source, if available.
Backing Up Your Current Firmware
Before updating, it is strongly recommended to back up your current firmware. This backup will allow you to revert to the original settings if the update fails or if you experience any issues. Most firmware flashing tools, like the Arduino IDE, allow you to read and save the current firmware from your printer before overwriting it. Follow the instructions provided by your flashing software to create a backup. Save the backup file in a safe place on your computer. Label it clearly, including the printer model and the date. Should you need to restore the original firmware, you can use the same flashing tool to upload the backup file to your printer. Creating a backup ensures you always have a functional starting point and helps you recover from any unexpected problems.
Step-by-Step Guide to Firmware Installation

The installation process involves connecting your printer to your computer, using software to flash the new firmware, and verifying the installation. Patience and attention to detail are essential during this step. Make sure to follow each step carefully to prevent any errors. If you encounter any issues, refer to the troubleshooting section or consult online resources for assistance. The following steps provide a clear guide to help you update the firmware on your Tevo Tarantula safely. Remember to always unplug your printer before working with any electrical components.
Connecting Your Tevo Tarantula to Your Computer
Connect your Tevo Tarantula to your computer using a USB cable. Ensure the printer is powered off during the connection process. Plug the smaller end of the USB cable into the printer’s USB port. The location of the USB port varies slightly depending on the Tarantula model; refer to your printer’s manual if needed. Connect the other end of the cable to an available USB port on your computer. Once the connection is made, your computer should recognize the printer as a connected device. Your computer may automatically install the necessary drivers. If not, you may need to install the drivers manually. After the driver installation is complete, you are ready to proceed with the firmware flashing.
Flashing the Firmware using Arduino IDE or Other Software
Open the Arduino IDE or the flashing software of your choice. Select the correct board and COM port corresponding to your Tevo Tarantula in the Arduino IDE settings. If using the Arduino IDE, you will need to upload the downloaded firmware file to your printer. Locate the firmware file on your computer (usually with a .hex or .bin extension). In the Arduino IDE, select the option to upload the firmware to your printer. Click the ‘Upload’ button in the IDE. The flashing process will start, and you will see progress indicators on the screen. Carefully monitor the process for any error messages. Ensure the flashing process completes successfully without errors. The successful completion of this step is crucial for the firmware update.
Verifying the Firmware Installation

After the flashing process is complete, verify the firmware installation. Disconnect the printer from your computer and power it on. Check the printer’s display to see if the firmware has been successfully updated. Look for any version numbers or information on the printer’s main screen that indicates the new firmware. If the printer starts up without any errors and displays the updated firmware information, the installation was successful. You can also test some of the printer’s functions, such as moving the print head or heating the bed, to ensure everything is working correctly. If the printer displays an error message or does not function properly, revisit the troubleshooting section for assistance.
Troubleshooting Common Firmware Issues
Even with careful execution, issues can sometimes arise during or after a firmware update. Here are solutions for common problems that may be encountered. Understanding these issues and their solutions will help you quickly resolve problems and get your printer back up and running. Before troubleshooting, it’s helpful to make sure you have access to your computer and printer. Consult your printer manual and online resources. Take the time to review the troubleshooting steps methodically.
Printer Not Responding After Update
If your printer does not respond after the update, start by checking the power supply and connections. Ensure the printer is properly plugged in and that the power switch is turned on. Verify that the USB cable is securely connected to both the printer and your computer. Sometimes, the firmware update process can be interrupted, which can cause this issue. Try reflashing the firmware, making sure to follow all the steps carefully. If reflashing doesn’t resolve the problem, and if you have a backup of your previous firmware, try restoring it to see if that resolves the problem. If problems persist, consult online resources or a 3D printing expert.
Calibration Issues after Firmware Update

After updating the firmware, you may encounter calibration issues. The firmware update might change the printer’s settings, leading to print quality problems. Start by re-calibrating your printer. This involves leveling the print bed and calibrating the extruder. Consult your printer’s manual or online guides for specific calibration steps. In the printer’s settings menu, verify that the settings match the firmware version you installed. If the calibration issues continue, check the firmware configuration settings. You might need to adjust settings such as steps per mm, or the Z-offset, to achieve the correct printing results. The bed leveling process is essential for getting a good first layer.
Other common issues
Other common issues include incorrect movement or the printer displaying an error message after an update. If you experience incorrect movement, double-check that the steps per mm settings in your printer’s firmware are correctly configured for your specific printer. If the printer displays an error message, make note of the error message and search online for solutions. Many common errors have readily available solutions. Ensure that the firmware you have flashed is compatible with your printer model. If you face any persistent issues, you may need to seek help from online communities or 3D printing experts.
Post-Installation and Optimization
After successfully updating the firmware, it’s time to optimize your printer’s performance. This involves configuring settings and testing your printer to ensure it operates at its best. Take your time to fine-tune the settings and practice printing to identify the best setup for your specific requirements. Optimizing your printer will improve print quality and overall performance, providing a more enjoyable experience. This section will guide you through the necessary steps to achieve the best possible printing results. By focusing on these steps, you’ll be able to get the most out of your Tevo Tarantula printer.
Configuring Printer Settings after the Update

Once the firmware update is complete, configure the printer’s settings. This involves adjusting settings such as bed temperature, nozzle temperature, and printing speed. Access the printer’s settings menu through its LCD screen or through your slicing software. Calibrate your printer’s steps per mm for the X, Y, and Z-axis. This will ensure accurate movements. Adjust the Z-offset to correctly position the nozzle above the print bed. Test the temperature settings of the nozzle and bed by printing a test cube. Fine-tune these settings based on the specific filament you’re using. Record the settings to keep a record of your optimal printing configurations.
Testing and Calibrating Your Printer
After configuring the settings, test your printer by printing a calibration cube or another test print. This will help you identify any potential print quality issues. Ensure the bed is level and the nozzle is the correct distance from the bed. Observe the first layer of the print for any adhesion issues. Adjust the bed leveling and Z-offset if needed. If you notice imperfections, such as gaps or over-extrusion, adjust the flow rate settings in your slicing software. Check for any other common issues, such as layer shifting or warping. Make adjustments to the print settings as needed. Perform multiple test prints to ensure the printer’s performance. These tests are essential to dial in the perfect setup.
Additional Tips and Resources
Here are some additional tips and resources to enhance your Tevo Tarantula 3D printing experience. Regularly update your printer’s firmware to benefit from bug fixes and new features. Stay informed about firmware updates by following 3D printing forums and communities. Keep your printer clean and well-maintained. Regularly lubricate moving parts and keep the nozzle clean. Consider joining online 3D printing communities for troubleshooting and sharing tips. Explore different slicing software options, such as Cura or PrusaSlicer, to optimize your print settings. These resources can provide additional support, best practices, and solutions to any problems you may encounter. They will help you gain the most benefit out of your 3D printing journey.