Embarking on a Tevo Tarantula build can be an exciting journey into the world of 3D printing. This guide unveils the top 5 secrets to ensure a smooth and successful assembly, transforming your kit into a functional 3D printer. With careful planning and attention to detail, you’ll be printing models in no time. These secrets aren’t just about the steps; they’re about understanding the nuances that can make the difference between a frustrating build and a rewarding experience. Let’s dive into these essential tips to help you unlock the full potential of your Tevo Tarantula.
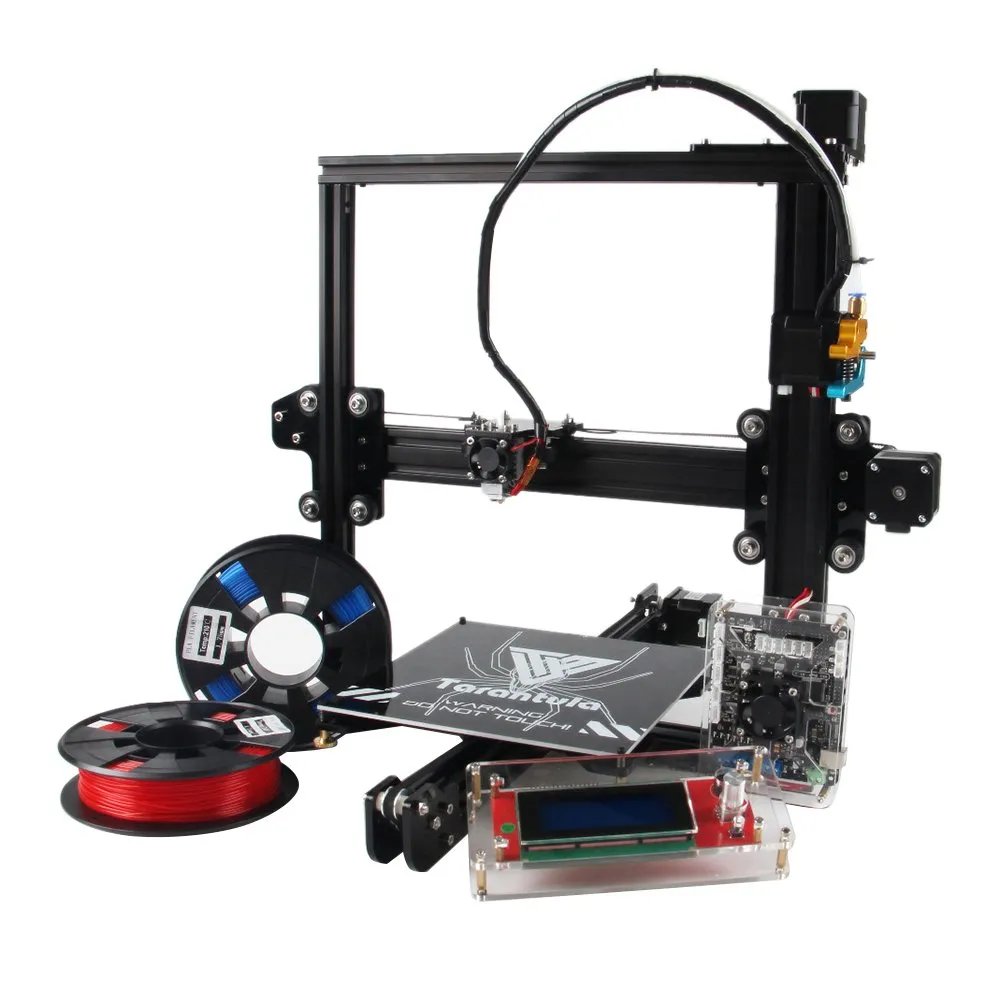
Tevo Tarantula Build Guide Top 5 Secrets
Secret 1 Preparation is Key
Before you even touch a screwdriver, proper preparation is crucial. This involves more than just having the right tools; it’s about creating an organized workspace and understanding the assembly process. A well-prepared environment minimizes frustration and maximizes efficiency. Read through the entire manual, watch some helpful videos and familiarize yourself with the components. Take your time, and don’t rush. Prepare your workspace to ensure that all components and tools are easily accessible. This proactive approach will save time and prevent errors, turning a potentially complex task into a manageable project. Proper preparation is more than a step; it’s a mindset.
Gathering Your Tools

Having the right tools at your disposal is fundamental. While the Tevo Tarantula kit may include some tools, supplementing them with your own high-quality set can significantly improve the build experience. Essential tools include a set of Allen wrenches (metric), a Phillips head screwdriver, wire cutters/strippers, and a digital multimeter for testing electrical connections. A good pair of tweezers for handling small parts and zip ties for cable management are also extremely helpful. Using the correct tools prevents damage to the components and ensures that the assembly process goes smoothly. Make sure to choose tools that are comfortable to use and of good quality. Investing in a good tool set will pay off in the long run.
Organizing Components
Organization is the unsung hero of a successful 3D printer build. The Tevo Tarantula comes with numerous small parts, screws, and wires. Before you begin assembly, take the time to sort and organize all of these components. Use small containers or labeled bags to keep screws and other small parts separate. Group similar components together to prevent confusion. Having a well-organized workspace reduces the risk of losing parts and makes it easy to locate the components you need. Consider using a parts organizer to keep everything in place. This step seems simple, but it’s a game-changer for efficiency and reduces the chance of errors.
Secret 2 Frame Assembly Secrets
The frame is the skeleton of your Tevo Tarantula. A stable and well-aligned frame is the foundation for accurate prints. This section delves into the secrets of assembling the frame correctly, ensuring that your printer is rigid and stable. Take your time during the frame assembly, and check the squareness of the frame as you go. Loose screws can lead to vibrations and poor print quality. The accuracy of the frame build directly impacts the printer’s ability to produce high-quality prints. Proper frame assembly ensures that all the moving parts align correctly, contributing to the overall precision of your 3D prints. This will reduce common issues like layer shifting or uneven prints.
Base Frame Construction

Start with the base frame, ensuring that all the corner brackets are securely fastened. Align the frame components accurately to achieve a perfect square. Use a level to ensure that the frame is perfectly horizontal. A slightly off-kilter frame can cause significant printing problems. Tighten the screws gradually, ensuring that the frame remains square as you go. Over-tightening can strip the threads, while under-tightening can lead to instability. Take your time and double-check your work as you build each part of the frame to avoid costly mistakes later. A solid base frame is essential for consistent and accurate prints.
Z-Axis Support Build
The Z-axis supports the print bed and is critical for vertical movement. Precise alignment is vital for layer adhesion. Assemble the Z-axis supports carefully, ensuring they are perpendicular to the base frame. Misalignment here can cause the print bed to tilt, resulting in inconsistent first layers and printing problems. Use a square to verify that the supports are perfectly straight and aligned. Securely tighten all the screws, but be cautious not to over-tighten them. Properly constructed Z-axis supports are essential for smooth and accurate vertical movement. Proper Z-axis build is key to the overall quality of your prints.
Secret 3 Wiring and Electronics Secrets
Wiring and electronics can be daunting, but a methodical approach makes it manageable. This section covers the essential steps for wiring the motors, endstops, and other electronic components. Incorrect wiring can lead to printer malfunctions and potential damage. A tidy wiring job improves the printer’s reliability and aesthetics. Carefully follow the wiring diagrams provided in the manual. A logical and organized approach will save you time and prevent headaches down the road. Take care to connect the wires to the correct terminals. This step involves connecting the electronic components to the mainboard.
Connecting the Motors

Motors are the heart of your 3D printer, controlling the movement of the print head and bed. Accurately connect the stepper motors to the mainboard. Double-check the wiring to ensure each motor moves in the correct direction. Incorrect wiring can cause the print head to move in the wrong direction, which can damage your printer or print. Consult the wiring diagrams to ensure each motor is connected to the correct driver on the mainboard. Secure the wires using zip ties to prevent them from getting tangled. Correct motor wiring allows the printer to move accurately in the X, Y, and Z axes, enabling precise printing.
Wiring the Endstops
Endstops are critical safety devices that tell the printer when the print head or bed has reached its limit. Wire the endstops correctly to prevent the printer from crashing into its frame. Consult the wiring diagrams carefully and ensure that the endstops are connected to the appropriate pins on the mainboard. Incorrect wiring can prevent the printer from properly calibrating the print bed and cause print failures. Test the endstops after connecting them by manually triggering them and verifying that the printer responds correctly. The accurate wiring of endstops guarantees your printer operates safely, preventing crashes and damage to the printer components.
Secret 4 Calibration and Firmware Secrets
Calibration and firmware are vital for optimizing your printer’s performance. This section focuses on bed leveling and firmware flashing. These steps ensure that the printer functions correctly. Without proper calibration and firmware setup, you can experience several printing issues. Correct calibration will prevent you from having to start over with your projects. Take your time to calibrate your printer and check that all the functions work. Calibration is key to ensuring the printer is set up and ready for use.
Bed Leveling

Bed leveling is essential for getting the first layer of your print to adhere properly. Follow the instructions provided in the manual. Adjust the bed leveling screws until the nozzle is the correct distance from the bed. The proper distance can be found by using a piece of paper to check the nozzle’s contact with the bed. A properly leveled bed prevents warping, poor adhesion, and other print failures. Use the paper method to ensure that the nozzle is neither too close nor too far away from the bed. Once leveled, the first layer of your prints will be flat, and all other layers will print correctly.
Firmware Flashing
Firmware is the software that controls your 3D printer. Flashing the correct firmware is crucial for the printer to function correctly. Download the latest firmware version compatible with your printer. Use the appropriate software to flash the firmware onto your printer’s mainboard. Incorrect firmware can cause malfunctions. Ensure you select the correct firmware configuration for your specific printer model. After flashing the firmware, test the printer’s functions to ensure everything works as expected. Consider upgrading the firmware to enhance your printer’s features, and functionalities. The correct firmware helps the printer operate correctly.
Secret 5 First Print Secrets
The first print is the moment of truth. This section covers the essential steps for loading the filament and starting your first print successfully. Your first print marks the culmination of your build efforts. Ensure you have done your prep work so you can see a successful print. By carefully following these steps, you increase the likelihood of a successful initial print. Successful first prints build confidence and encourage you to explore further. Taking a few extra steps here will save you time later. Preparing everything here will lead to a successful first print.
Loading Filament

Proper filament loading is key to a successful first print. Insert the filament into the extruder. Heat the nozzle to the appropriate temperature for your filament type. The extruder should feed the filament through the nozzle smoothly. If the filament does not extrude properly, check for any clogs and ensure the nozzle temperature is correct. Loading the filament might seem simple, but it’s one of the common issues. Properly loading the filament ensures that the printer will extrude plastic correctly during the printing process.
Starting Your First Print
Select a simple test model to print initially. This allows you to test the functionality of your printer and to confirm that your settings are correct. Once the printer is ready and the filament is loaded, send the print job to the printer and observe the first layer. Adjust bed leveling as needed. If the first layer adheres well, then your printer is ready for printing. Monitoring the first layer ensures a successful print. A properly configured print results in a good print and can be enjoyed. Keep the first print simple to test the printer.
Building a Tevo Tarantula is a rewarding experience. By following these top 5 secrets, you’ll be well on your way to a successful build and countless hours of 3D printing enjoyment. Remember to take your time, be patient, and enjoy the process. From the frame to the first print, each step is a learning opportunity, and each successful print is a testament to your skill and perseverance. With these tips, you’re now ready to start printing amazing models.