Why Change Filament on Your Tevo Tarantula?
Changing filament is a fundamental task in 3D printing, essential for both the aesthetic appeal and structural integrity of your prints. Whether you’re switching colors, materials, or simply replacing an empty spool, knowing how to change filament on your Tevo Tarantula is crucial. This process allows you to experiment with different colors, materials like PLA, ABS, or PETG, and improve the overall quality of your prints. It prevents issues like running out of filament mid-print, which can ruin hours of work. Regularly changing filament also helps in maintaining your printer’s performance and prevents potential clogs or other mechanical problems associated with extended use of a single filament type. Understanding this process is key to maximizing your 3D printing experience.
When to Change Filament
The need to change filament arises in several common scenarios. The most obvious is when you’re switching to a new color or material to create multi-colored prints or to utilize the specific properties of different filaments. You might be moving from PLA to ABS for a part requiring higher temperature resistance, or switching from a solid to a translucent filament for aesthetic reasons. Another key time to change filament is when your current spool runs out. Running out mid-print can lead to failed prints, so it’s important to monitor your filament supply. Furthermore, if you’re experiencing print quality issues such as clogs, poor layer adhesion, or nozzle problems, changing the filament can sometimes resolve these issues by clearing the extruder. Finally, consider changing filament if you suspect the current filament has absorbed moisture, which can degrade print quality. Identifying the proper time to change filament ensures a smooth and successful 3D printing experience.
Top 5 Tips for Changing Filament on Your Tevo Tarantula

Changing filament on your Tevo Tarantula doesn’t have to be a daunting task. Following these top 5 tips will streamline the process, ensuring a smooth transition between filaments and preventing common printing problems. From preparing the printer to verifying the new filament, these tips are designed to optimize your workflow and help you achieve high-quality prints every time. By mastering these simple steps, you can significantly improve your 3D printing experience, saving time and resources while producing professional-looking results.
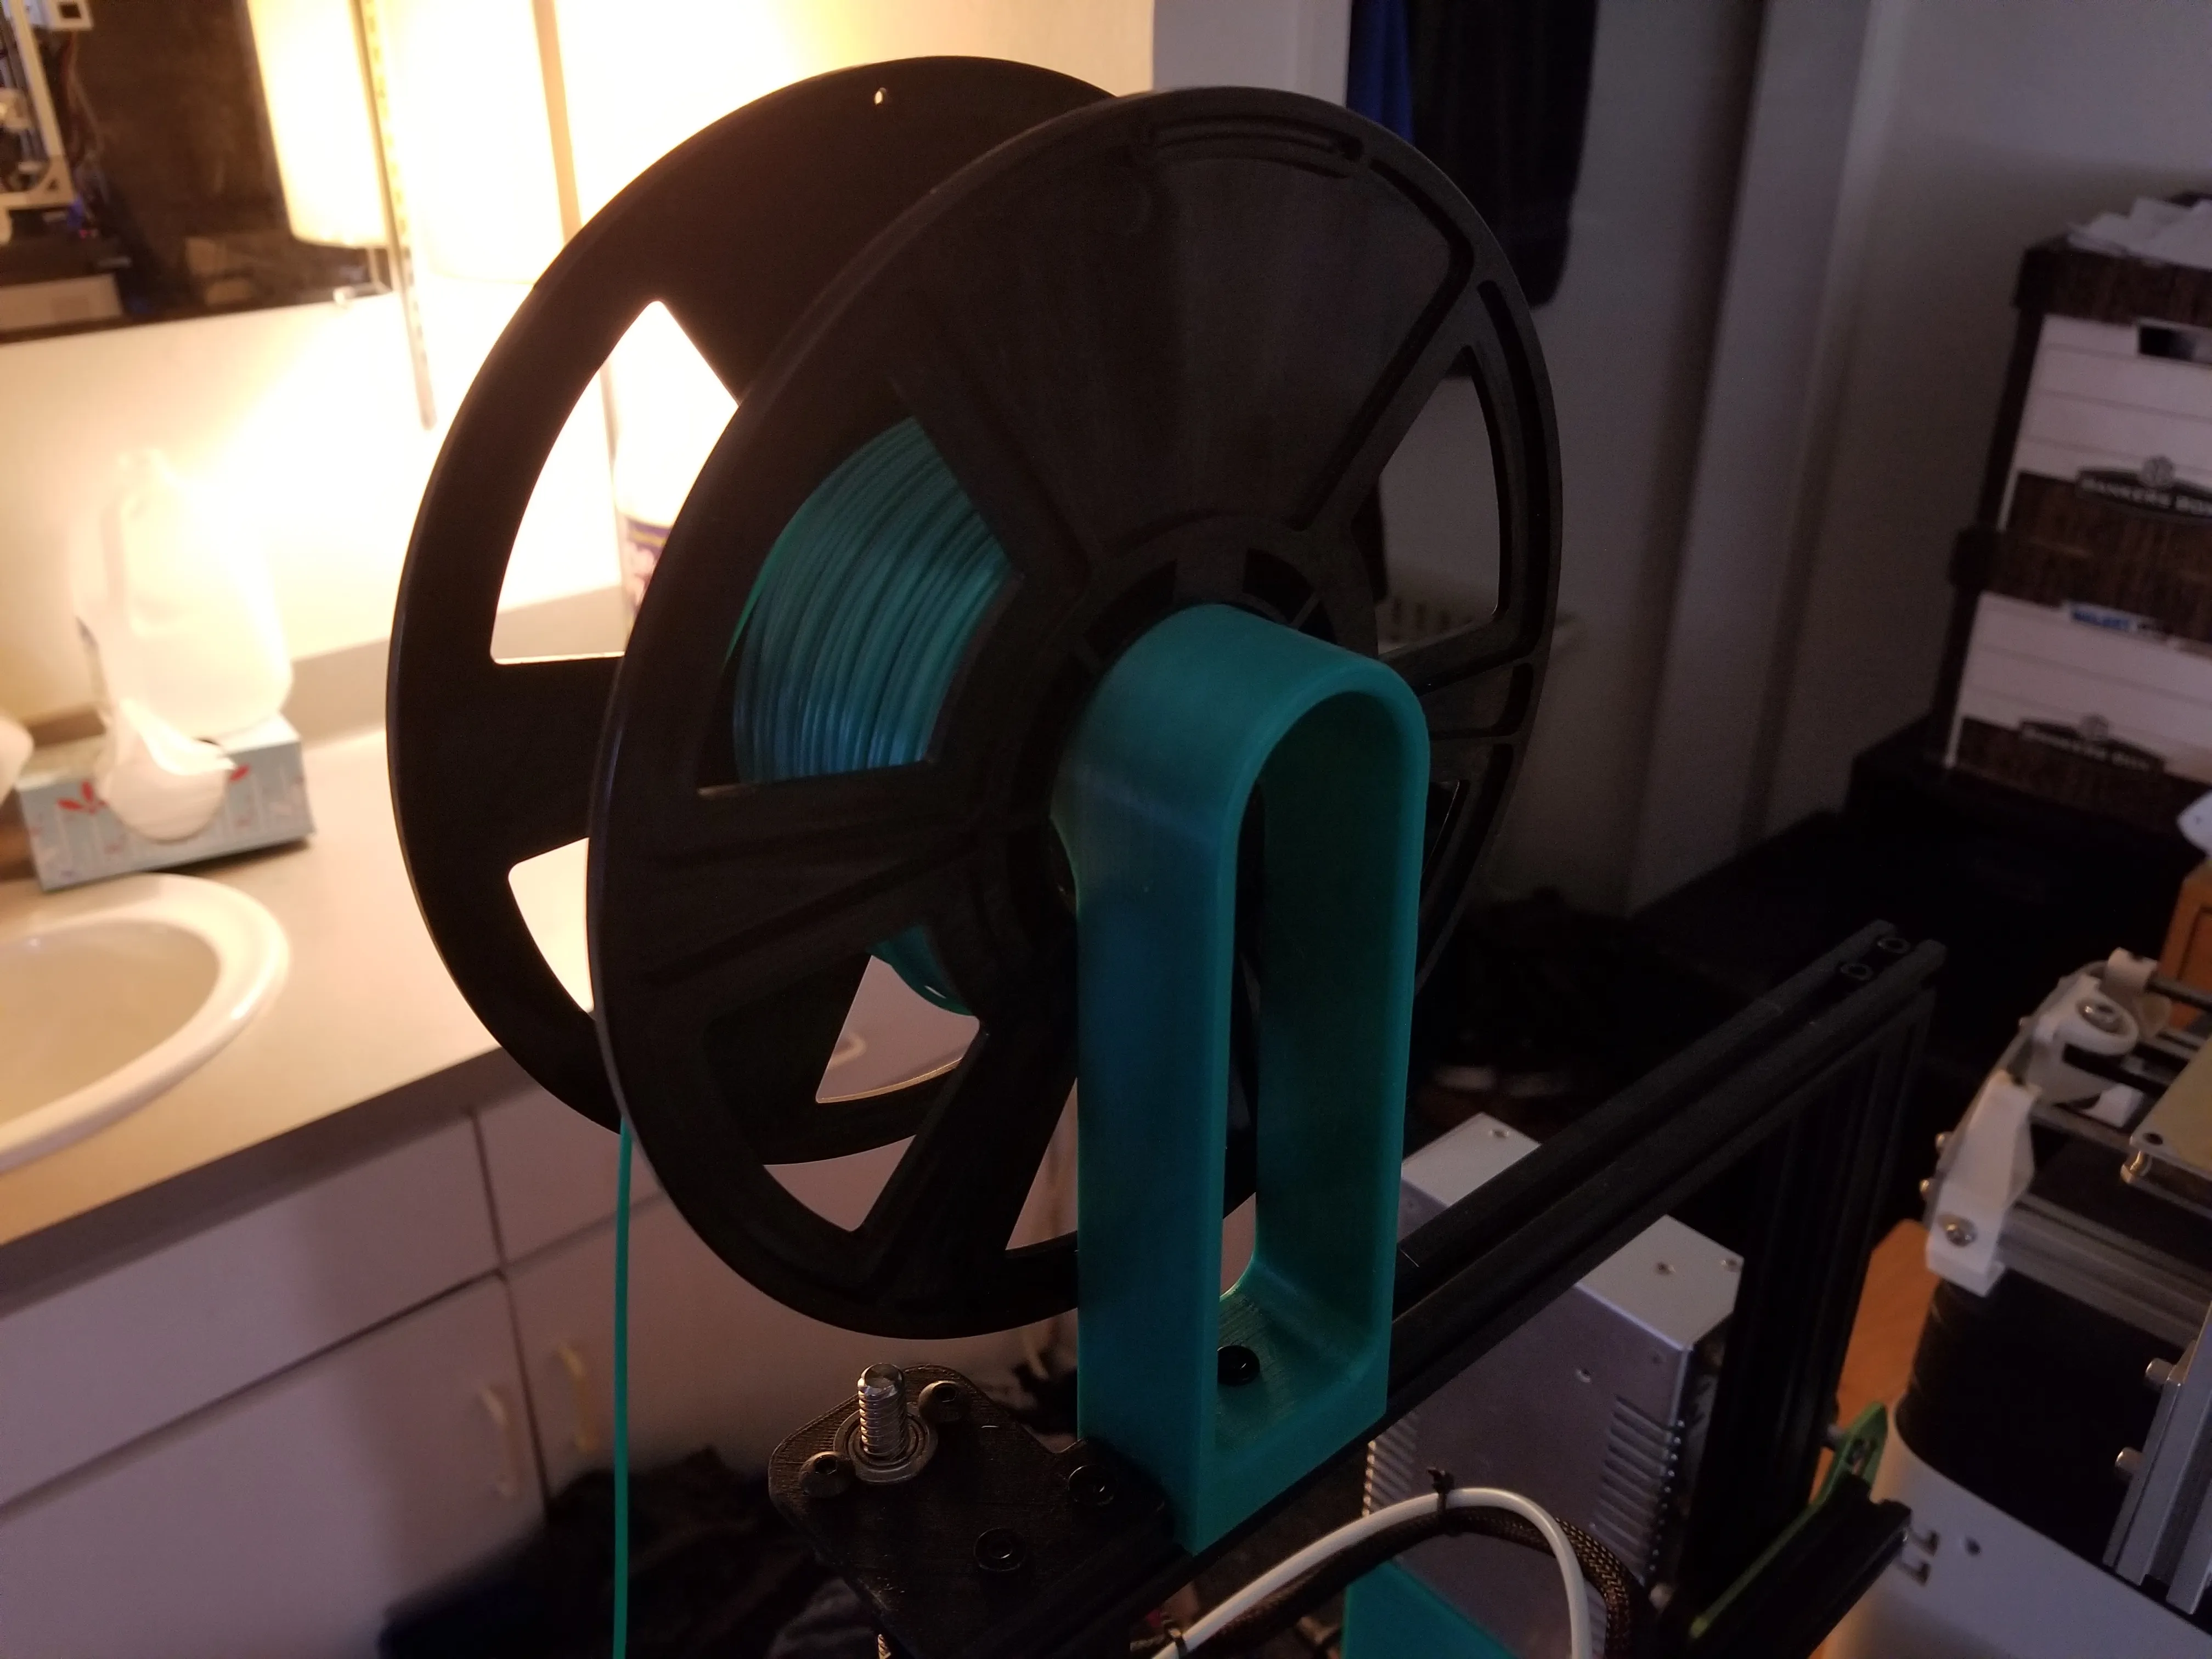
Tip 1 Prepare the Printer
Before beginning the filament change, ensure your Tevo Tarantula is correctly positioned and stable. Start by turning on your printer and accessing the control panel, which will vary depending on the specific model but typically involves navigating through a menu on the printer’s LCD screen or via connected software. Inspect the nozzle and print bed to confirm they are clear of any remnants from previous prints, and that your print bed is properly leveled, as this is a foundational element for a successful filament change. This prepares your printer for the subsequent heating and filament extrusion steps. Also, ensure you have your new filament ready to go, ideally in an accessible location, to expedite the process.
Tip 2 Heat Up the Nozzle
Heating the nozzle is critical because it melts the filament, enabling it to be extracted and replaced efficiently. Using the printer’s control panel, set the nozzle temperature to the appropriate setting for the filament you are using. Typically, PLA filaments require around 190-220°C, while ABS filaments require a higher temperature of approximately 230-250°C. Consult the filament packaging for the recommended printing temperature. Allow the nozzle to reach the set temperature, giving it a few minutes to stabilize. Once the nozzle has reached the correct temperature, you’ll be ready to remove the old filament, ensuring it flows smoothly. If the temperature is too low, the filament won’t melt properly and might become jammed.
Tip 3 Extrude the Old Filament

With the nozzle heated, the next step is to remove the old filament. Depending on your Tevo Tarantula model, this can be done by either manually pulling it out or utilizing the printer’s extrusion controls. If the printer has an auto-retract function, use it to reverse the extrusion process and pull the filament back out. If you’re doing it manually, gently pull the filament out once it starts to extrude from the nozzle. Use pliers if necessary, but be cautious not to damage the extruder components. Ensure the old filament comes out cleanly without breaking or getting stuck. If the filament is difficult to remove, try slightly increasing the nozzle temperature to fully melt any remaining filament residue.
Tip 4 Load the New Filament
Now it’s time to load the new filament. Insert the new filament into the extruder, making sure it feeds smoothly into the hot end. You might need to manually feed it a bit to get it started. Once inserted, engage the extruder motor using the printer’s controls, allowing the new filament to advance through the nozzle. The new filament will push out any remaining old filament. Continue extruding until you see the new color or material coming out of the nozzle, ensuring that all the old filament is purged. This ensures a clean transition between filaments and prepares your printer for the next task.
Tip 5 Verify the Change
After loading the new filament, it’s important to verify that the change has been successful. Extrude a small amount of the new filament to confirm it’s flowing smoothly and evenly from the nozzle. Examine the extruded filament to check for any imperfections, like air bubbles or inconsistent flow. If the filament isn’t flowing properly, try increasing the nozzle temperature slightly or clearing the nozzle of any potential blockages. Additionally, check the print bed to ensure the new filament adheres properly. If the bed is dirty, clean it with isopropyl alcohol to improve adhesion. Once you’ve verified the new filament is flowing correctly, you are ready to start your print. If any issues persist, consult the troubleshooting section of this guide.
Troubleshooting Filament Issues
Even with careful execution, problems can arise during the filament changing process. Issues can range from incomplete filament removal to clogs and poor adhesion. If the old filament doesn’t extrude smoothly, ensure your nozzle is at the correct temperature; sometimes, a slightly higher temperature is needed to fully melt and extract the old material. For clogs, try using a cleaning needle to clear the nozzle, or perform a cold pull, where you heat the nozzle, manually extrude some filament, and then cool it down before extracting it. This often pulls out any residue. Finally, if the new filament is not sticking to the bed, ensure the bed is level and clean, and that the first layer is set correctly in your slicing software.
Common Problems
Several common problems can interfere with a successful filament change. One frequent issue is filament jams, often caused by incorrect nozzle temperatures or obstructions in the hot end. Another common problem is air gaps or bubbles in the extruded filament, which can result from moisture absorption by the filament or too rapid extrusion. Poor bed adhesion can cause your first layers to detach, ruining your print. Filament tangles can lead to extrusion failures and print interruption. Recognizing these problems can help you troubleshoot quickly and prevent failures. Regular maintenance, proper filament storage, and careful calibration of your printer are essential for reducing the chance of these issues.
Preventative Measures
Preventive maintenance is key to avoiding filament-related issues. Always store your filament in a dry, airtight container to prevent moisture absorption, which can lead to poor print quality and nozzle clogs. Regularly inspect and clean the nozzle to remove any debris that might cause blockages. Calibrate your printer’s settings, especially the bed leveling and nozzle temperature, to ensure optimal printing conditions. Keep the extruder motor and gears clean and well-lubricated. Always use good quality filament from a reputable source. Proper filament storage, a clean printer, and regular maintenance will vastly improve your 3D printing experience and reduce the need for troubleshooting during filament changes.